Change the screen on your mockup
A mockup with the default screen is just a pretty device. A mockup with your screen is a product.
The flow
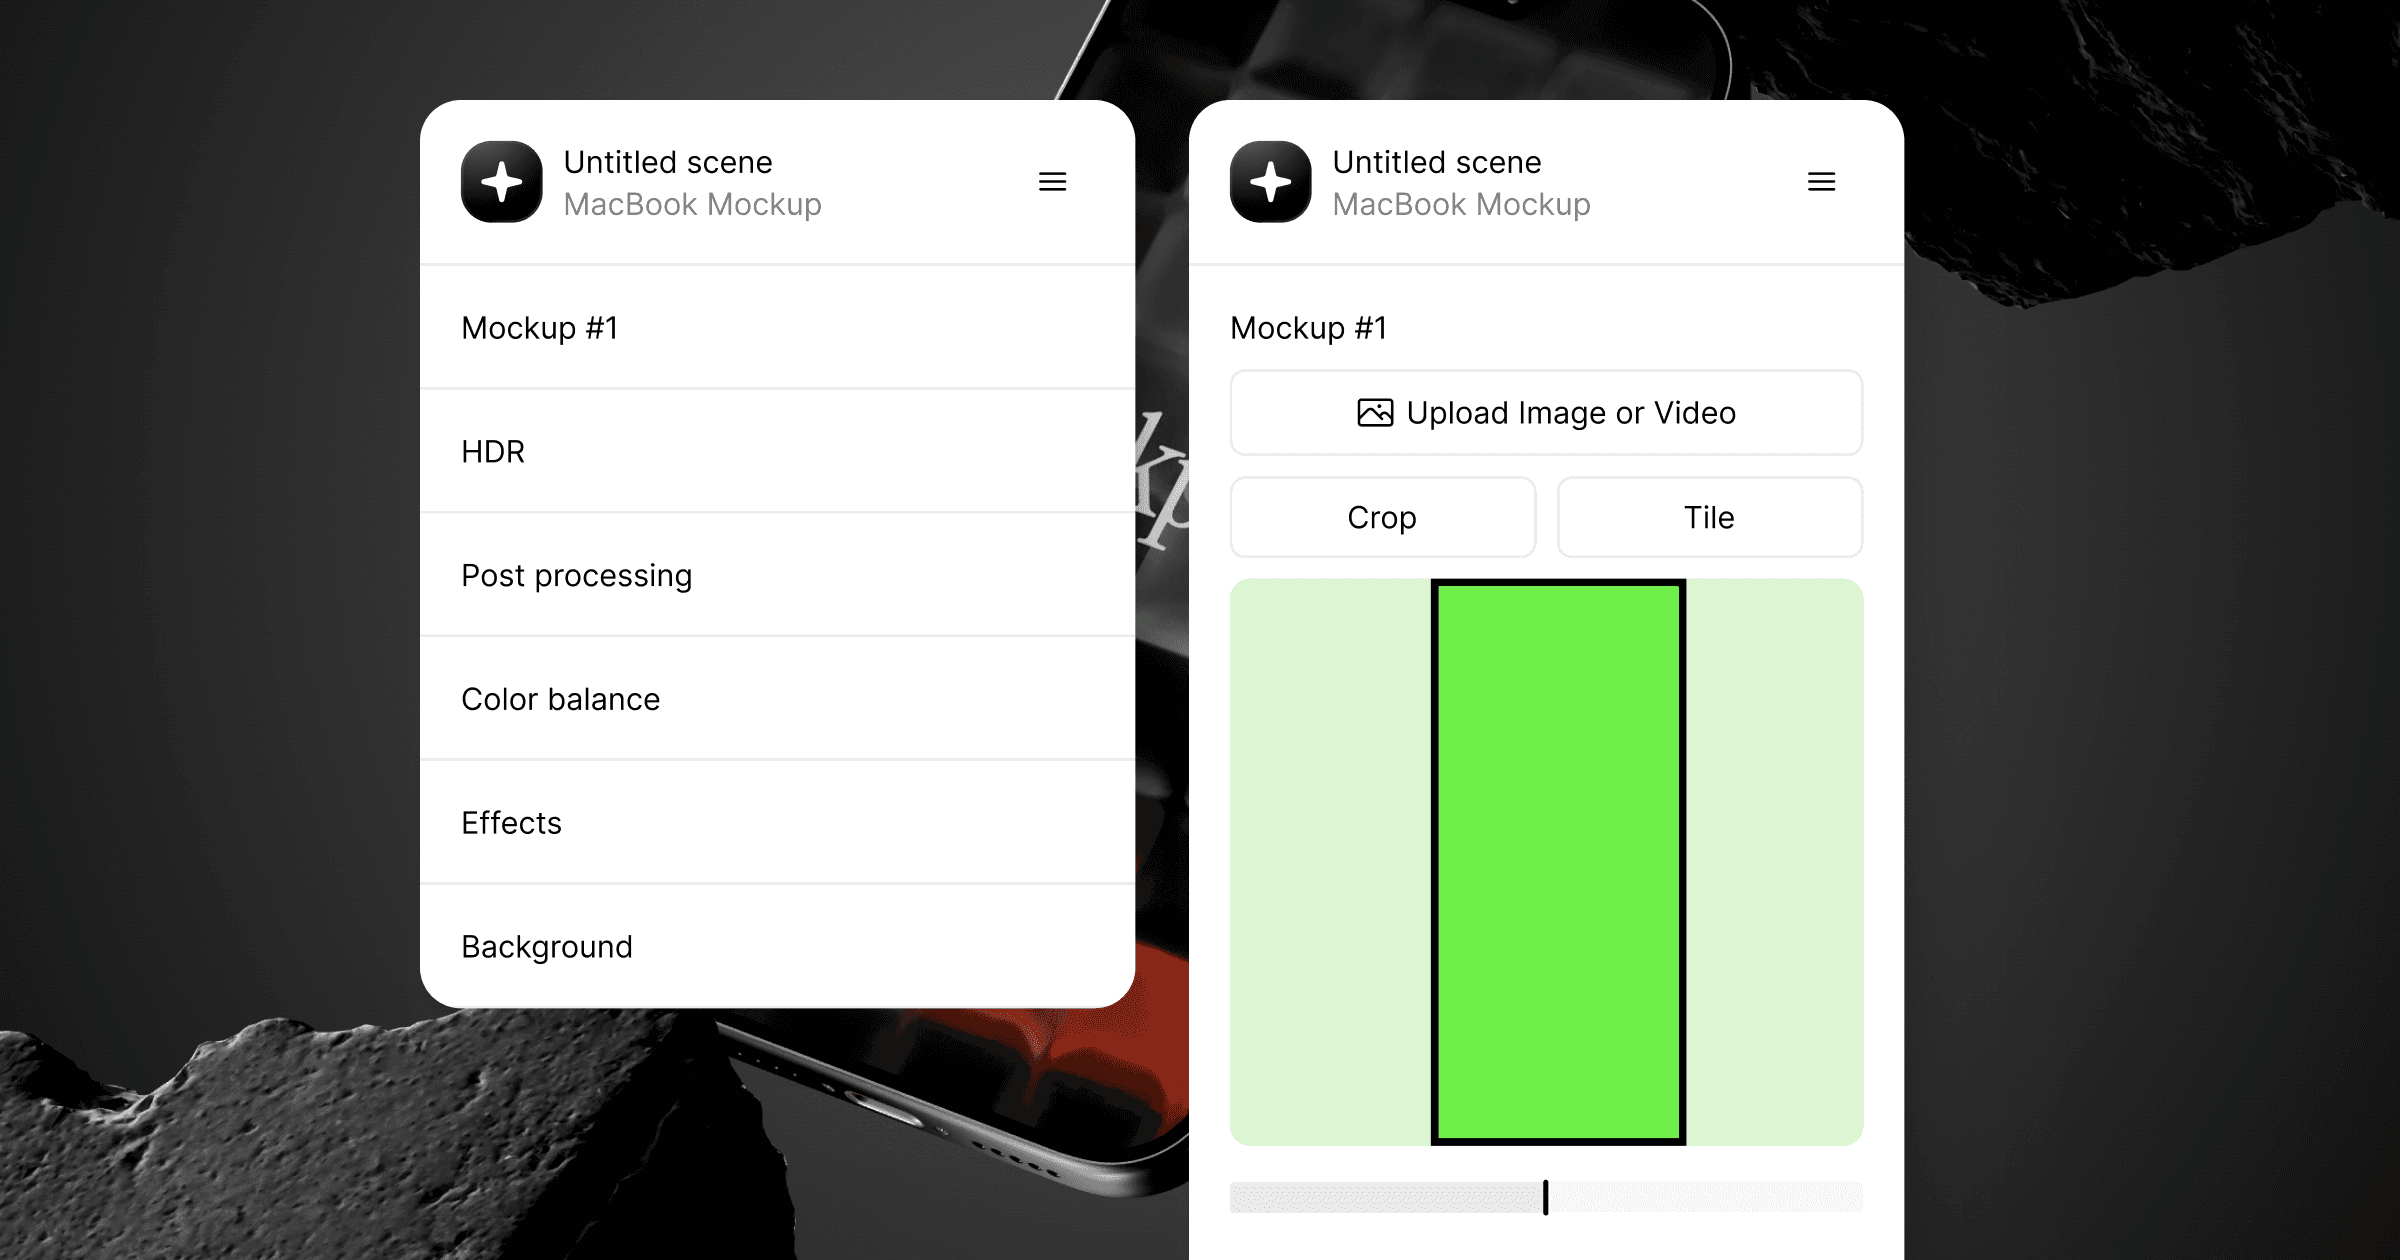
Open the Mockup #1 section in the side panel.
Click Upload Image / Video and pick your file.
The mockup updates the instant your file lands. That is it.
Upload an image (PNG/JPEG) for a static screen, or a video (MP4/WebM) when you want the screen itself to move. Videos get a Loop and a Mute toggle (both best left on for hero sections).
Three things worth knowing
Go big.
The file auto-crops to fit, so dimensions do not matter — but a 2x or 3x export stays crisp when the device is shown large.
Mind the file size.
If the scene is going into an embed, keep videos under 1 MB so the page stays fast. If you are exporting the scene as a video instead, the limit is 100 MB.
Swap any time.
The screen is not baked in. Upload a new file and every embed of that scene updates on its own — no new code, no re-pasting.
Common questions
My screen looks cropped.
The file does not match the device's shape, so it auto-crops. Use a device screenshot to show every pixel.
More than one device?
Each gets its own slot — Mockup #1, Mockup #2 — upload a file to each.
Do videos slow the page?
A short, compressed clip is fine. For embeds, stay under 1 MB and keep loops short.