Scenes, embeds, and triggers explained
Scene
A scene is what you build in the editor. It is a 3D environment with a device — a phone, a tablet, a laptop — plus the lighting, the background, and the screen you put on the device.
Think of a scene like a stage. The device is the actor. The lights and background set the mood. You arrange everything once, save the scene, and reuse it as often as you want.
A scene lives in your mckp.live library. You can edit it later, and any change updates everywhere the scene is used.
Embed
An embed is how a scene appears on a page outside mckp.live — your landing page, your portfolio, a docs site, a Notion page.
When you are happy with a scene, you click Get Code. You get a short snippet (an iframe or a script tag, depending on the platform). You paste it where you want the mockup to show up. That is it.
One scene can have many embeds across many sites. They all stay in sync — change the scene, and every embed updates automatically.
Trigger
A trigger is what makes the scene start animating. It is the answer to one question: when should this mockup come to life?
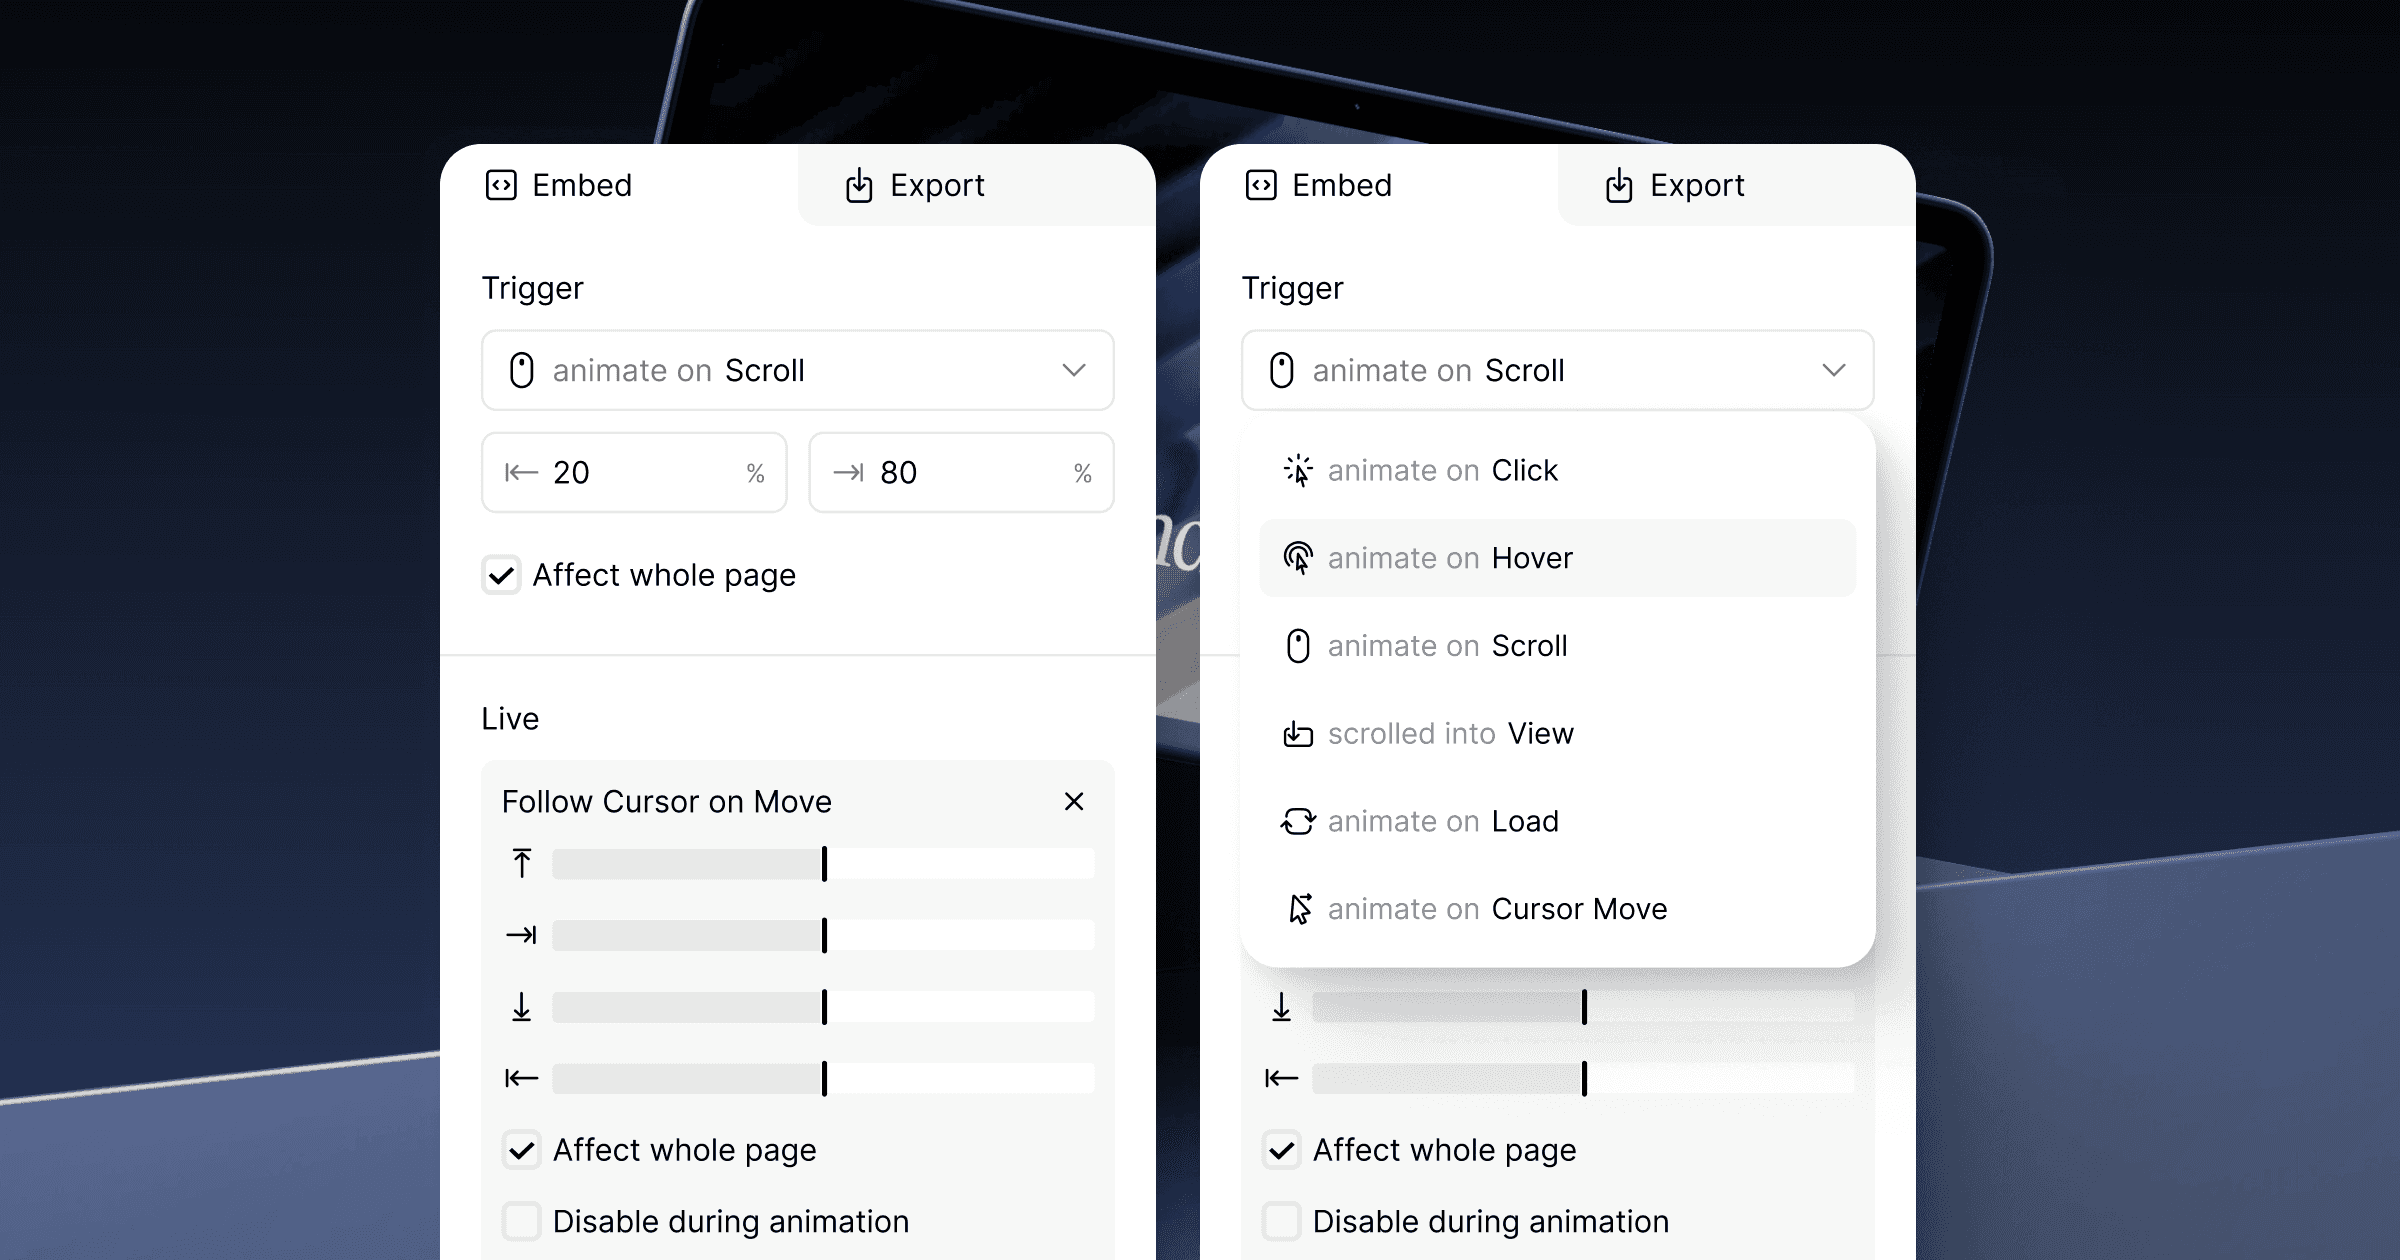
You have six to choose from:
Load.
The animation plays as soon as the page loads. Best for hero sections where the mockup is visible from the start.
Scrolled into View.
The animation plays once, when the mockup scrolls into the visitor's screen. Best for mockups further down the page that should wake up when the visitor reaches them.
Scroll.
The animation is tied to the scroll position. As the visitor scrolls, the mockup animates in sync. Best for long landing pages that tell a story.
Hover.
The animation plays when the visitor moves the cursor over the mockup. Best for portfolios and galleries.
Click.
The animation plays when the visitor clicks the mockup. Best for interactive demos where you want the visitor to participate.
Cursor move.
The animation plays in response to the cursor moving anywhere on the page. Best when you want the mockup to feel responsive without asking for direct interaction.
You pick one trigger per embed. Different pages can use different triggers for the same scene.
How they fit together
Here is the full flow in one sentence: you build a scene in the editor, choose a trigger to decide when it animates, and grab the embed code to put it on your site.
In practice:
Pick a device and drop your screen onto it.
Set the lighting and background to match your brand.
Choose a trigger — Load, Hover, Click, Scroll, Scrolled into View, or Cursor move.
Copy the embed code.
Paste it on your page.
That is the whole loop. Everything else in mckp.live is a refinement on top of these three ideas.
What about Live behaviors?
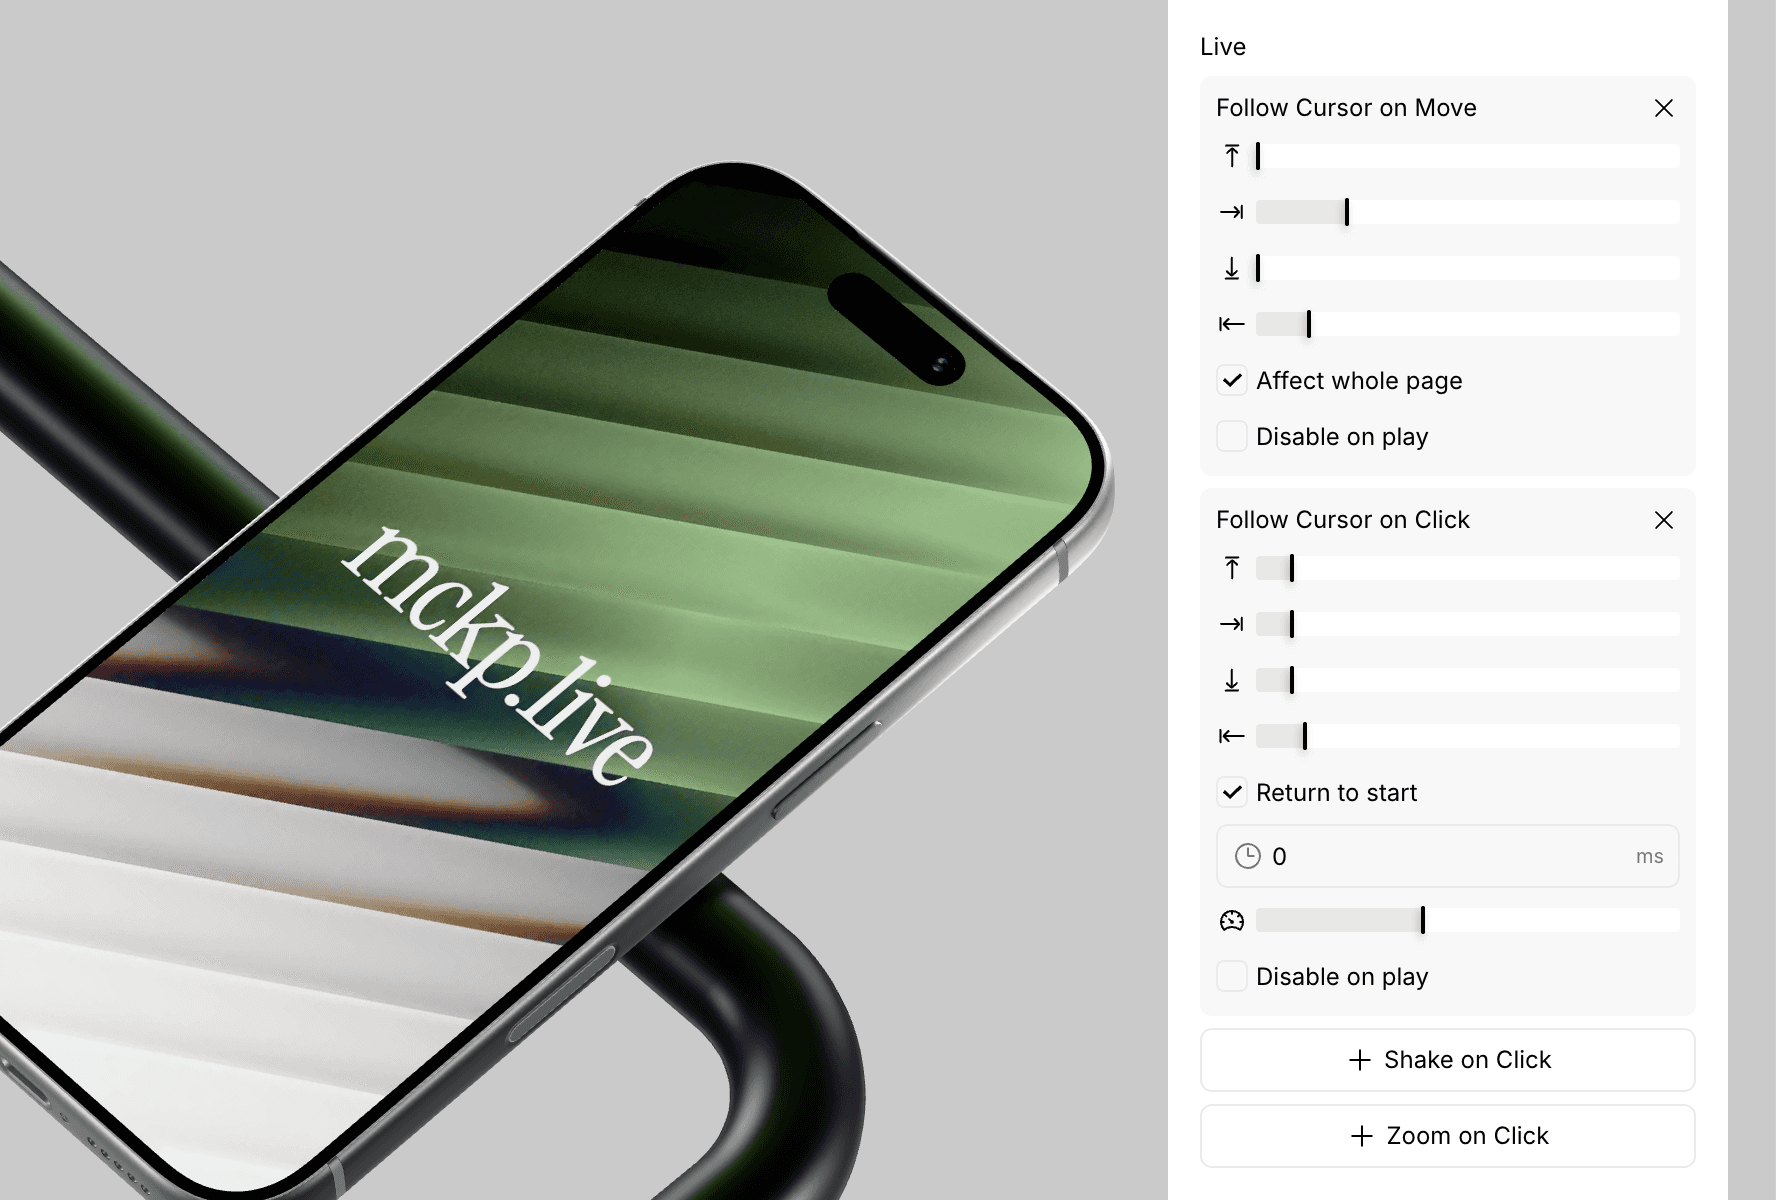
Triggers control when the animation plays. Live behaviors control what the mockup does while the visitor is there — Follow Click, Shake on Click, Zoom on Click. They run on top of the trigger, not instead of it.
We cover those in their own guides. For now, you can use a scene with no behaviors at all, and it will still feel alive.